Shop by Department


Brand: Miralux
Sold By: Allin Store
Prepare family meals easily with the large 9L capacity of 9XXL. Powerful 1600W power for faster cooking and greater energy efficiency. Enjoy your favorite foods with up to 85% less fat thanks to rapid air circulation technology.
SKU: JWZE20238
Categories: Air Fryers
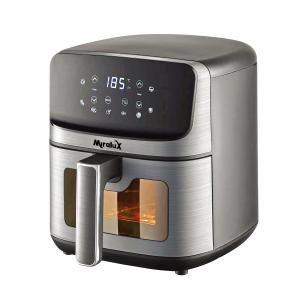
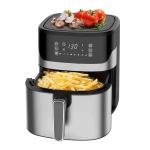
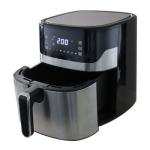
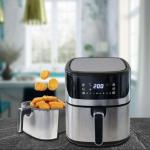
Miralux Air Fryer 9XXL – 1600W
The perfect solution for large families and feast lovers. With its massive capacity and advanced hot air circulation technology, it delivers crispy and delicious food with little to no oil, so you can enjoy healthy and tasty meals at the same time.
Key Features & Technical Specifications
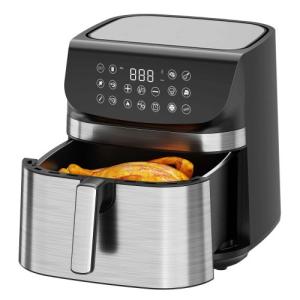
Extra-Large Capacity 9 Liters XXL – Ideal for big families or gatherings.
1600W Power – Ensures faster and more efficient cooking.
Rapid Air Technology – For crispy and tasty results with less fat.
Advanced Digital Control for Temperature & Time:
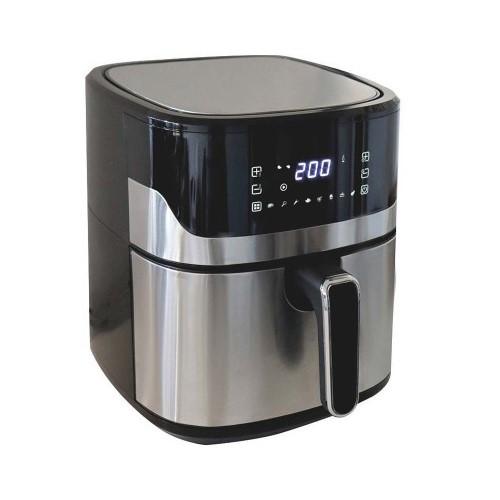
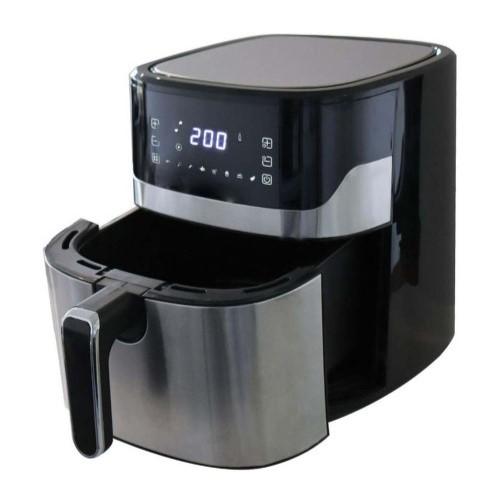
Adjustable temperature from 80°C to 200°C
Timer up to 60 minutes
8 Preset Cooking Programs – Easily prepare fries, chicken, fish, meat, and more with a single touch.
Non-stick & Removable Basket – Easy to clean and dishwasher safe.
Transparent Viewing Window – Monitor cooking progress without opening the basket.
5-in-1 Multi-Function Device – Frying, grilling, baking, roasting, and reheating.
Design & Operation
Device Setup: Place on a stable, heat-resistant surface with enough space for air ventilation.
How to Use:
Insert the rack inside the basket.
Add ingredients and set the temperature & time, or select a preset program.
Shake the basket halfway through cooking for even heat distribution.
Safety: Avoid touching the basket during or immediately after cooking, as it becomes very hot.
Cleaning & Maintenance
Unplug the device and allow it to cool before cleaning.
Wash the basket and rack with warm soapy water or place them in the dishwasher.
Wipe the inner surface with a soft sponge and the exterior with a damp cloth.
If food sticks, soak accessories in warm soapy water for 10 minutes before washing.
Sed magni enim pariatur ipsa. Consequatur soluta cupiditate itaque voluptatum. Dolorem recusandae incidunt maxime aut et.
KWD9.000
KWD19.000